You’re standing in your hallway—maybe in a London townhouse or a Manchester semi—staring at that flickering light. One switch works. The other? Nothing. Or worse, it’s a tangled mess of wires behind the plate, and you’ve got no clue where to start. Sound familiar? You’re not alone. Over 60% of UK homeowners tackle basic wiring themselves, but 3-way switch circuits? That’s where most throw in the towel.
Here’s the kicker: you don’t need a sparky charging £60 an hour to sort this. A three-switch two-way light circuit (yes, that’s the proper term for what you’re dealing with) is one of the most common wiring jobs in UK homes. It’s how you control a single light from three different switches—think staircases, long hallways, or even your bedroom and landing. But if you’ve ever Googled “how to wire a 3-way switch” and ended up more confused than when you started, this is your lifeline.
No jargon. No “trust me, it’s easy” nonsense. Just a step-by-step breakdown—with diagrams, real-world gotchas, and the exact tools you’ll need—so you can wire this yourself without frying your circuit or your patience. And if you mess up? I’ll show you how to spot it before the smoke starts. Let’s get to work.
Why Your 3-Way Switch Circuit Is Probably Wired Wrong (And How to Fix It)
First, let’s clear up the confusion. In the UK, we don’t call it a “3-way switch.” That’s American terminology. What you’ve got is a two-way switching circuit with three switches—meaning one light, three switches, all controlling it. The key here is the common wire (usually brown or black) and the switch wires (often red or yellow). If your circuit’s not working, it’s almost always one of three things:
- Wrong wire connected to the common terminal (yes, the red wire does matter—we’ll cover this in a sec).
- Loose or corroded connections (UK wiring loves to oxidise, especially in damp areas like bathrooms or basements).
- A broken neutral or earth (less common, but if the light flickers like a horror movie, this is your culprit).
Before you touch anything, turn off the power at the fuse box. Use a voltage tester (£10 from B&Q or Screwfix) to double-check. No excuses. Electrocution isn’t a “beginner’s mistake”—it’s a permanent one.
Step 1: Identify Your Wires (UK-Specific Colour Codes)
UK wiring follows the BS 7671 standard, so your cables will look like this:
| Wire Colour | Purpose | Where You’ll Find It |
|---|---|---|
| Brown | Live (carries current from the fuse box) | Connected to the common terminal on the switch or light fitting. |
| Blue | Neutral (returns current to the fuse box) | Goes straight to the light fitting—never through a switch. |
| Green & Yellow | Earth (safety ground) | Connected to the metal parts of the light or switch (if it’s metal). |
| Red or Yellow | Switch wire (connects switches together) | These are the wires that link your switches. Miswire one, and your circuit dies. |
Pro tip: If you’re working with old wiring (pre-2006), you might see black, white, or red wires instead. Assume they’re live until tested. No risks.
Step 2: The Red Wire Dilemma—Does It Really Matter?
Short answer: Yes, it does. Here’s why. In a 3-switch two-way circuit, the red/yellow wires are interconnecting cables. They link the switches together so they all control the same light. If you connect them wrong, you’ll end up with:
- One switch working, the other two doing nothing.
- All switches working, but the light flickers like a disco.
- The circuit tripping the breaker every time you flip a switch.
The rule is simple: the red wire from Switch 1 goes to the red terminal on Switch 2, and so on. But here’s the catch—the common terminal (usually marked L1 or COM) must always have the brown live wire. If you’ve got a red wire plugged into the common terminal? That’s your problem.
Visualise it like this: imagine the switches are talking to each other via the red wires. The brown wire is the “boss”—it brings the power in. If the red wires are crossed, the switches aren’t speaking the same language.
How to Wire a 3-Switch Two-Way Circuit: The No-BS Step-by-Step
Alright, tools first. You’ll need:
- A screwdriver set (insulated handles—no shortcuts).
- A wire stripper (or sharp scissors in a pinch).
- A voltage tester (non-negotiable).
- Pliers (for twisting wires neatly).
- Cable ties or electrical tape (to keep things tidy).
- A ladder or sturdy step stool (UK ceilings aren’t forgiving).
And if you’re working in an older home? Throw in a multimeter (£20 from Amazon) to check for continuity. Trust me, it’s worth it.
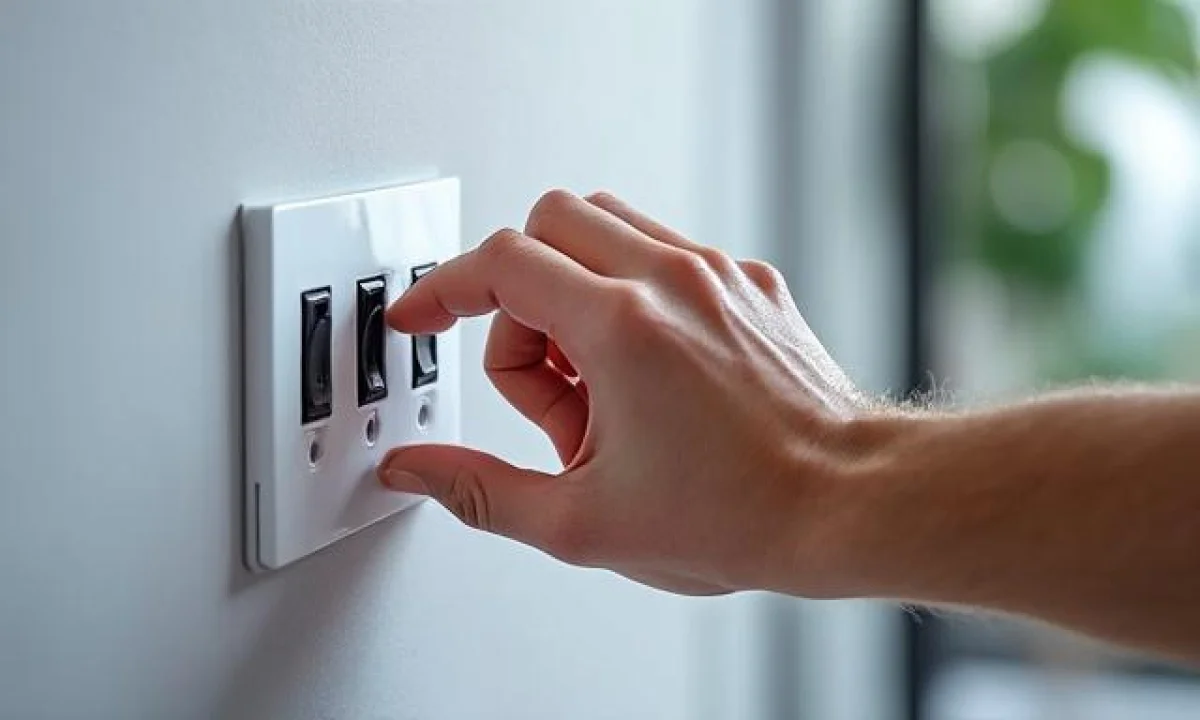
Step 1: Remove the Old Switches (Safely)
Start by turning off the power at the fuse box. Then, test each switch with your voltage tester. No beeping? Good. Still beeping? You’ve got a live wire—turn the power back on and check your fuse box.
Pop off the switch plates. You’ll see two screws holding the switch in place. Unscrew them, then gently pull the switch out. Don’t yank—the wires are still connected. You should see:
- One brown wire (live, from the fuse box or previous switch).
- One blue wire (neutral, goes to the light).
- One or two red/yellow wires (switch links).
Take a photo of how it’s wired. Seriously. You’ll thank me later.
Step 2: Connect the Wires (The Right Way)
Here’s where most people screw up. Let’s do it properly.
- Identify the common terminal on your new switch. It’s usually marked L1 or COM. This is where the brown live wire goes.
- Connect the red/yellow wires to the other terminals. These are the switch links. If you’ve got three switches, the wiring should look like this:
Switch 1 (Nearest the Fuse Box):
- Brown wire → Common (L1) terminal.
- Red wire → Terminal 1.
- Red wire → Terminal 2 (this goes to Switch 2).
Switch 2 (Middle Switch):
- Red wire (from Switch 1) → Terminal 1.
- Red wire → Terminal 2 (this goes to Switch 3).
Switch 3 (Farthest from Fuse Box):
- Red wire (from Switch 2) → Terminal 1.
- Red wire → Terminal 2 (this goes back to the light fitting).
At the light fitting:
- Brown wire → Common terminal (L1).
- Blue wire → Neutral terminal.
- Red wire (from Switch 3) → The other terminal (usually marked L2 or SW).
Twist the wires clockwise (this is the UK standard) and use a wire nut or Wago connector to secure them. No loose ends—ever.
Common Mistakes (And How to Avoid Them)
You’re not the first person to mess this up. Here are the top 3 screw-ups and how to fix them:
Mistake 1: Connecting the Red Wire to the Common Terminal
If you’ve got a red wire plugged into the common (L1) terminal, your circuit won’t work. Here’s why: the common terminal is for the live feed (brown wire). The red wires are for switch links. Swap them, and you’ve just created a short circuit.
Fix: Pull the red wire out of the common terminal and plug the brown wire in instead. Then, connect the red wire to one of the other terminals.
Mistake 2: Ignoring the Neutral Wire
Some DIYers skip the blue neutral wire, thinking it’s not important. Big mistake. The neutral is what completes the circuit. Without it, your light might work sometimes, but it’ll flicker, buzz, or eventually burn out.
Fix: Always connect the blue wire to the neutral terminal on the light fitting. If your switch doesn’t have a neutral terminal (older models), the neutral should still go straight to the light without passing through any switches.
Mistake 3: Not Testing Before Closing Up
You’ve wired everything, screwed the switches back in, and—boom—nothing works. Before you panic, do this:
- Turn the power back on at the fuse box.
- Test each switch one by one with your voltage tester.
- If a switch beeps when it’s off, you’ve got a live wire where there shouldn’t be one.
- If the light flickers, check your neutral connection.
Pro tip: If you’re still stuck, call a sparky. It’s not a failure—it’s smart. A UK electrician charges £40-£60/hour, but if you’ve spent 3 hours cursing at your wiring, you’ve already lost £120 in time and sanity.
How to Convert a 2-Way Switch to a 3-Way (Without Rewiring the Whole House)
Got a 2-way switch circuit and want to add a third switch? You’re in luck—it’s easier than you think. Here’s how:
Step 1: Identify Your Existing Wiring
Behind your current switches, you’ll see:
- One brown live wire (from the fuse box).
- One blue neutral wire (goes to the light).
- One red switch link (connects the two switches).
Your goal is to add a third switch in the middle of the existing red link.
Step 2: Cut the Red Link and Add the New Switch
Here’s the trick: you don’t need to rewire the entire circuit. Just:
- Turn off the power and test for live wires.
- Remove the switch plates and unscrew one of the existing switches (let’s say Switch 2).
- Find the red switch link and cut it (yes, cut it).
- Strip 1cm of insulation from both ends of the cut wire.
- Connect one end to Terminal 1 of your new switch.
- Connect the other end to Terminal 2 of the new switch.
- Run a new red wire from Terminal 1 of the new switch to the original Switch 1.
- Run another new red wire from Terminal 2 of the new switch to the original Switch 3 (or light fitting).
Now, your new switch is the middle man, linking the other two. The light should now be controllable from all three switches.
Step 3: Test and Tidy Up
Turn the power back on and test each switch. If one doesn’t work:
- Check for loose connections.
- Make sure the red wires are twisted clockwise (UK standard).
- Verify that the brown live wire is in the common terminal.
If it’s still not working, you’ve probably got a broken wire or a short circuit. Time to call a pro.
Tools and Materials: The UK-Specific Shopping List
No need to overcomplicate this. Here’s what you actually need to buy (and where to get it cheap in the UK):
Essential Tools
| Tool | Where to Buy | Price (Approx.) |
|---|---|---|
| Insulated Screwdriver Set | B&Q, Screwfix, Amazon | £10-£20 |
| Wire Stripper | B&Q, Toolstation | £5-£12 |
| Voltage Tester | Amazon, eBay | £8-£15 |
| Pliers | Any hardware store | £6-£15 |
| Multimeter (optional but handy) | Amazon, Maplin | £20-£40 |
Materials You’ll Need
- 3-way switches (e.g., Screwfix or B&Q). Look for 2-way switches with 3 terminals (common + 2 others). Price: £5-£15 each.
- Red/yellow 1.5mm² cable (for switch links). You’ll need about 5-10 metres, depending on your setup. Price: £10-£20 per roll.
- Wire nuts or Wago connectors (for securing connections). Price: £5-£10 for a pack.
- Cable ties or electrical tape (to keep things neat). Price: £3-£8.
Pro tip: If you’re working in a listed building or period property, check with your local council first. Some areas in the UK (like London’s conservation areas) have strict rules about visible wiring. You might need to hide cables in trunking.
Legal and Safety: What the UK Laws Say (And Why You Should Care)
Before you touch a wire, you need to know this: UK wiring regulations (BS 7671) are not a suggestion. Mess this up, and you’re not just risking a fried circuit—you’re risking fines, insurance voids, or even prosecution if something goes wrong.
When You Must Call a Qualified Electrician
- If your home was built before 1901 (old wiring = old problems).
- If you’re working near water (bathrooms, kitchens)—UK Part P regulations require a Part P certified electrician for any work in “special locations.”
- If your circuit involves RCDs (residual current devices) or smoke alarms (these are legally required in UK homes built after 2015).
- If you’re not 100% sure about anything. No exceptions.
How much will a sparky cost? In the UK, expect:
- £40-£60/hour for a standard electrician.
- £70-£100/hour for a Part P certified electrician (required for new circuits or major changes).
- £200-£500 for a full Electrical Installation Certificate (if you’re selling your home).
But here’s the thing: if you follow this guide exactly, you’ll save yourself hundreds in labour costs. And if you’re still unsure? Start with one switch. Master that, then move to the next.
Insurance and Liability: What Happens If You Mess Up?
UK home insurance won’t cover damage caused by DIY electrical work if it’s not done properly. Here’s what can happen:
- Fire risk: Faulty wiring causes over 6,000 UK house fires per year (source: UK Fire Service).
- Electrocution: Even a small shock can be fatal. 10 people die annually in the UK from DIY electrical accidents.
- Insurance void: If your DIY work causes a fire or electrical fault, your insurer will deny the claim.
How to stay safe:
- Use a RCD-protected socket (£15 from B&Q) when testing.
- Never work on live wires—ever.
- If in doubt, turn it off and walk away.
Alright, let’s recap. You’ve got a three-switch two-way light circuit that’s either not working or driving you mad. You’ve read through this, you’ve got your tools, and you’re ready to dive in. Here’s what you now know that 90% of DIYers don’t:
- The red wire does matter—it’s the switch link, and if it’s wrong, your circuit’s dead.
- The neutral (blue wire) is non-negotiable. Skip it, and your light will flicker like a haunted house.
- You can convert a 2-way to a 3-way without rewiring the whole house—just cut the red link and add a new switch.
- UK laws are serious. Mess up near water or in an old home, and you’re looking at fines or voided insurance.
So what’s next? Do it. Not tomorrow. Not “when I have time.” Now. Grab your screwdriver, turn off the power, and start with one switch. If you hit a snag, pause. Re-read the section. Watch a UK-specific YouTube video (like this one from Electrician Matt).
And if you’re still stuck? Call a sparky. It’s not a failure—it’s smart. But if you follow this guide step by step, you’ll save yourself £200-£500 and the headache of explaining to your partner why the hallway light now controls the toaster.
Now go fix that circuit. And when it’s done? Pat yourself on the back. You just learned a skill that’ll save you money for the rest of your life. Not bad for a weekend project.
How to connect 3 wire to 2 wire light fixture?
You can connect a 3-wire to a 2-wire light fixture by using the black wire as the live and the white wire as the neutral. The red wire typically serves as a traveler in a three-way switch setup, so it won’t be used here. Just make sure to cap it off safely.
Does it matter where the red wire goes on a 3-way switch?
Yes, it does matter where the red wire goes on a 3-way switch. The red wire usually connects to one of the two brass screws, acting as a traveler wire. Proper placement ensures the switch functions correctly, allowing you to control the light from multiple locations.
Can you have a 3-way switch with two wires?
No, you can’t have a true 3-way switch setup with just two wires. A 3-way switch requires three wires: one common and two travelers. If you only have two, you’re limited to a standard single-pole switch configuration.
How to convert a 2-way switch to a 3-way switch?
To convert a 2-way switch to a 3-way switch, you’ll need to run an additional wire. Install the new 3-way switch and connect it properly with the existing switch. This setup allows control of the light from two different locations, which is handy in larger rooms.
What is a three-switch two-way light circuit diagram?
A three-switch two-way light circuit diagram shows how to wire multiple switches to control a single light from different locations. It typically includes three switches connected with traveler wires, allowing for flexible control. This setup is perfect for large spaces in your home.
How to wire a light switch with 3 wires in the UK?
Wiring a light switch with three wires in the UK involves connecting the live wire to the common terminal and the two traveler wires to the other terminals. Always ensure safety by switching off the power before starting and using proper connectors for a secure fit.
Can you have multiple 2-way switches in a circuit?
Yes, you can have multiple 2-way switches in a circuit, as long as they’re wired correctly. This allows you to control the same light from different points, which is ideal for hallways or large rooms. Just ensure you follow the wiring diagram for safe installation.